Make your very own heirloom-quality cutting board in this hands-on, two-session workshop at the Curious Goose Community Workshop.
Perfect for beginners and hobby woodworkers, we’ll go over how to use all the different tools and techniques required to make a beautiful hardwood cutting board that can last generations — and even have some fun while doing it.
The highlights
Two sessions, 2-3 hours each — we'll start with strips of gorgeous cherry, walnut and maple and go through the whole process beginning to end.
Suitable for all skill levels — all you need to bring is your attention and some closed-toe shoes. Shop aprons and all safety gear will be provided.
For those who are interested in further personalizing their completed boards, we have laser engraving services available. We’ll have time to review those options at the end of the first session.
What you’ll do Session One ( 6-8pm )
Select, cut, and prepare the maple, walnut and cherry strips for stability and appearance
Experiment with your desired layout
Glue-up and use different clamps to set everything together
Review all the tools we’ll be operating the following session so we can hit the ground running the second night
Session Two ( 6-8pm )
Flatten the glued-up boards using scrapers and shop planer
Cut the boards to their final size and shape
Progress through sanding to a silky smooth, food-safe surface
Learn how to finish and preserve a pieces of wood for many years of reliable use
What you’ll leave with
A finished heirloom-quality cutting board made of cherry, maple and/or walnut that will measure approx. 12” x 10” and 1” - 1.5” thick (or smaller, if you wish)
Some practical woodworking skills you can use on your own to make as many cutting boards as your heart desires
Guidance on care and maintenance so your board lasts
Make your very own heirloom-quality cutting board in this hands-on, two-session workshop at the Curious Goose Community Workshop.
Perfect for beginners and hobby woodworkers, we’ll go over how to use all the different tools and techniques required to make a beautiful hardwood cutting board that can last generations — and even have some fun while doing it.
The highlights
Two sessions, 2-3 hours each — we'll start with strips of gorgeous cherry, walnut and maple and go through the whole process beginning to end.
Suitable for all skill levels — all you need to bring is your attention and some closed-toe shoes. Shop aprons and all safety gear will be provided.
For those who are interested in further personalizing their completed boards, we have laser engraving services available. We’ll have time to review those options at the end of the first session.
What you’ll do Session One ( 6-8pm )
Select, cut, and prepare the maple, walnut and cherry strips for stability and appearance
Experiment with your desired layout
Glue-up and use different clamps to set everything together
Review all the tools we’ll be operating the following session so we can hit the ground running the second night
Session Two ( 6-8pm )
Flatten the glued-up boards using scrapers and shop planer
Cut the boards to their final size and shape
Progress through sanding to a silky smooth, food-safe surface
Learn how to finish and preserve a pieces of wood for many years of reliable use
What you’ll leave with
A finished heirloom-quality cutting board made of cherry, maple and/or walnut that will measure approx. 12” x 10” and 1” - 1.5” thick (or smaller, if you wish)
Some practical woodworking skills you can use on your own to make as many cutting boards as your heart desires
Guidance on care and maintenance so your board lasts
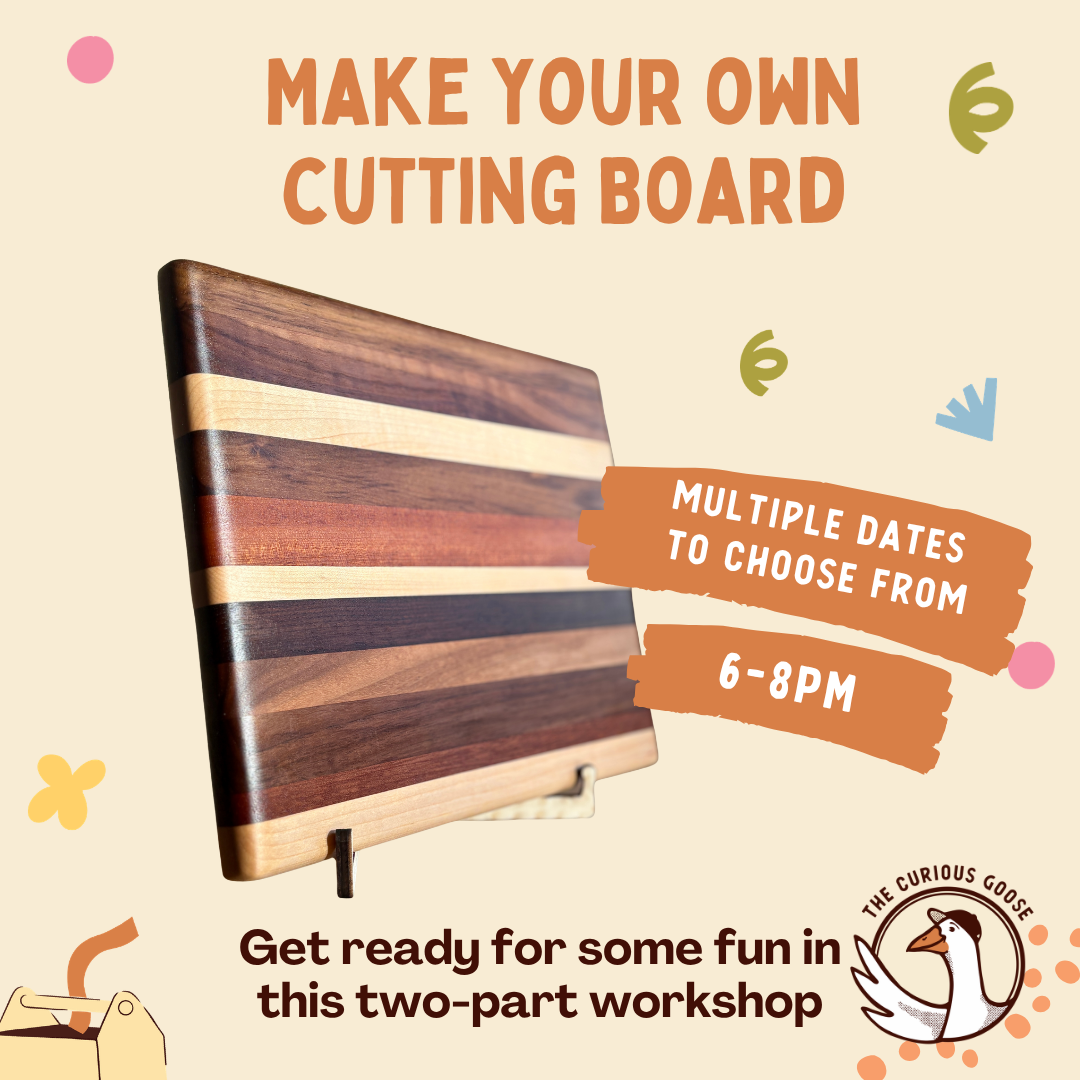 Image 1 of 6
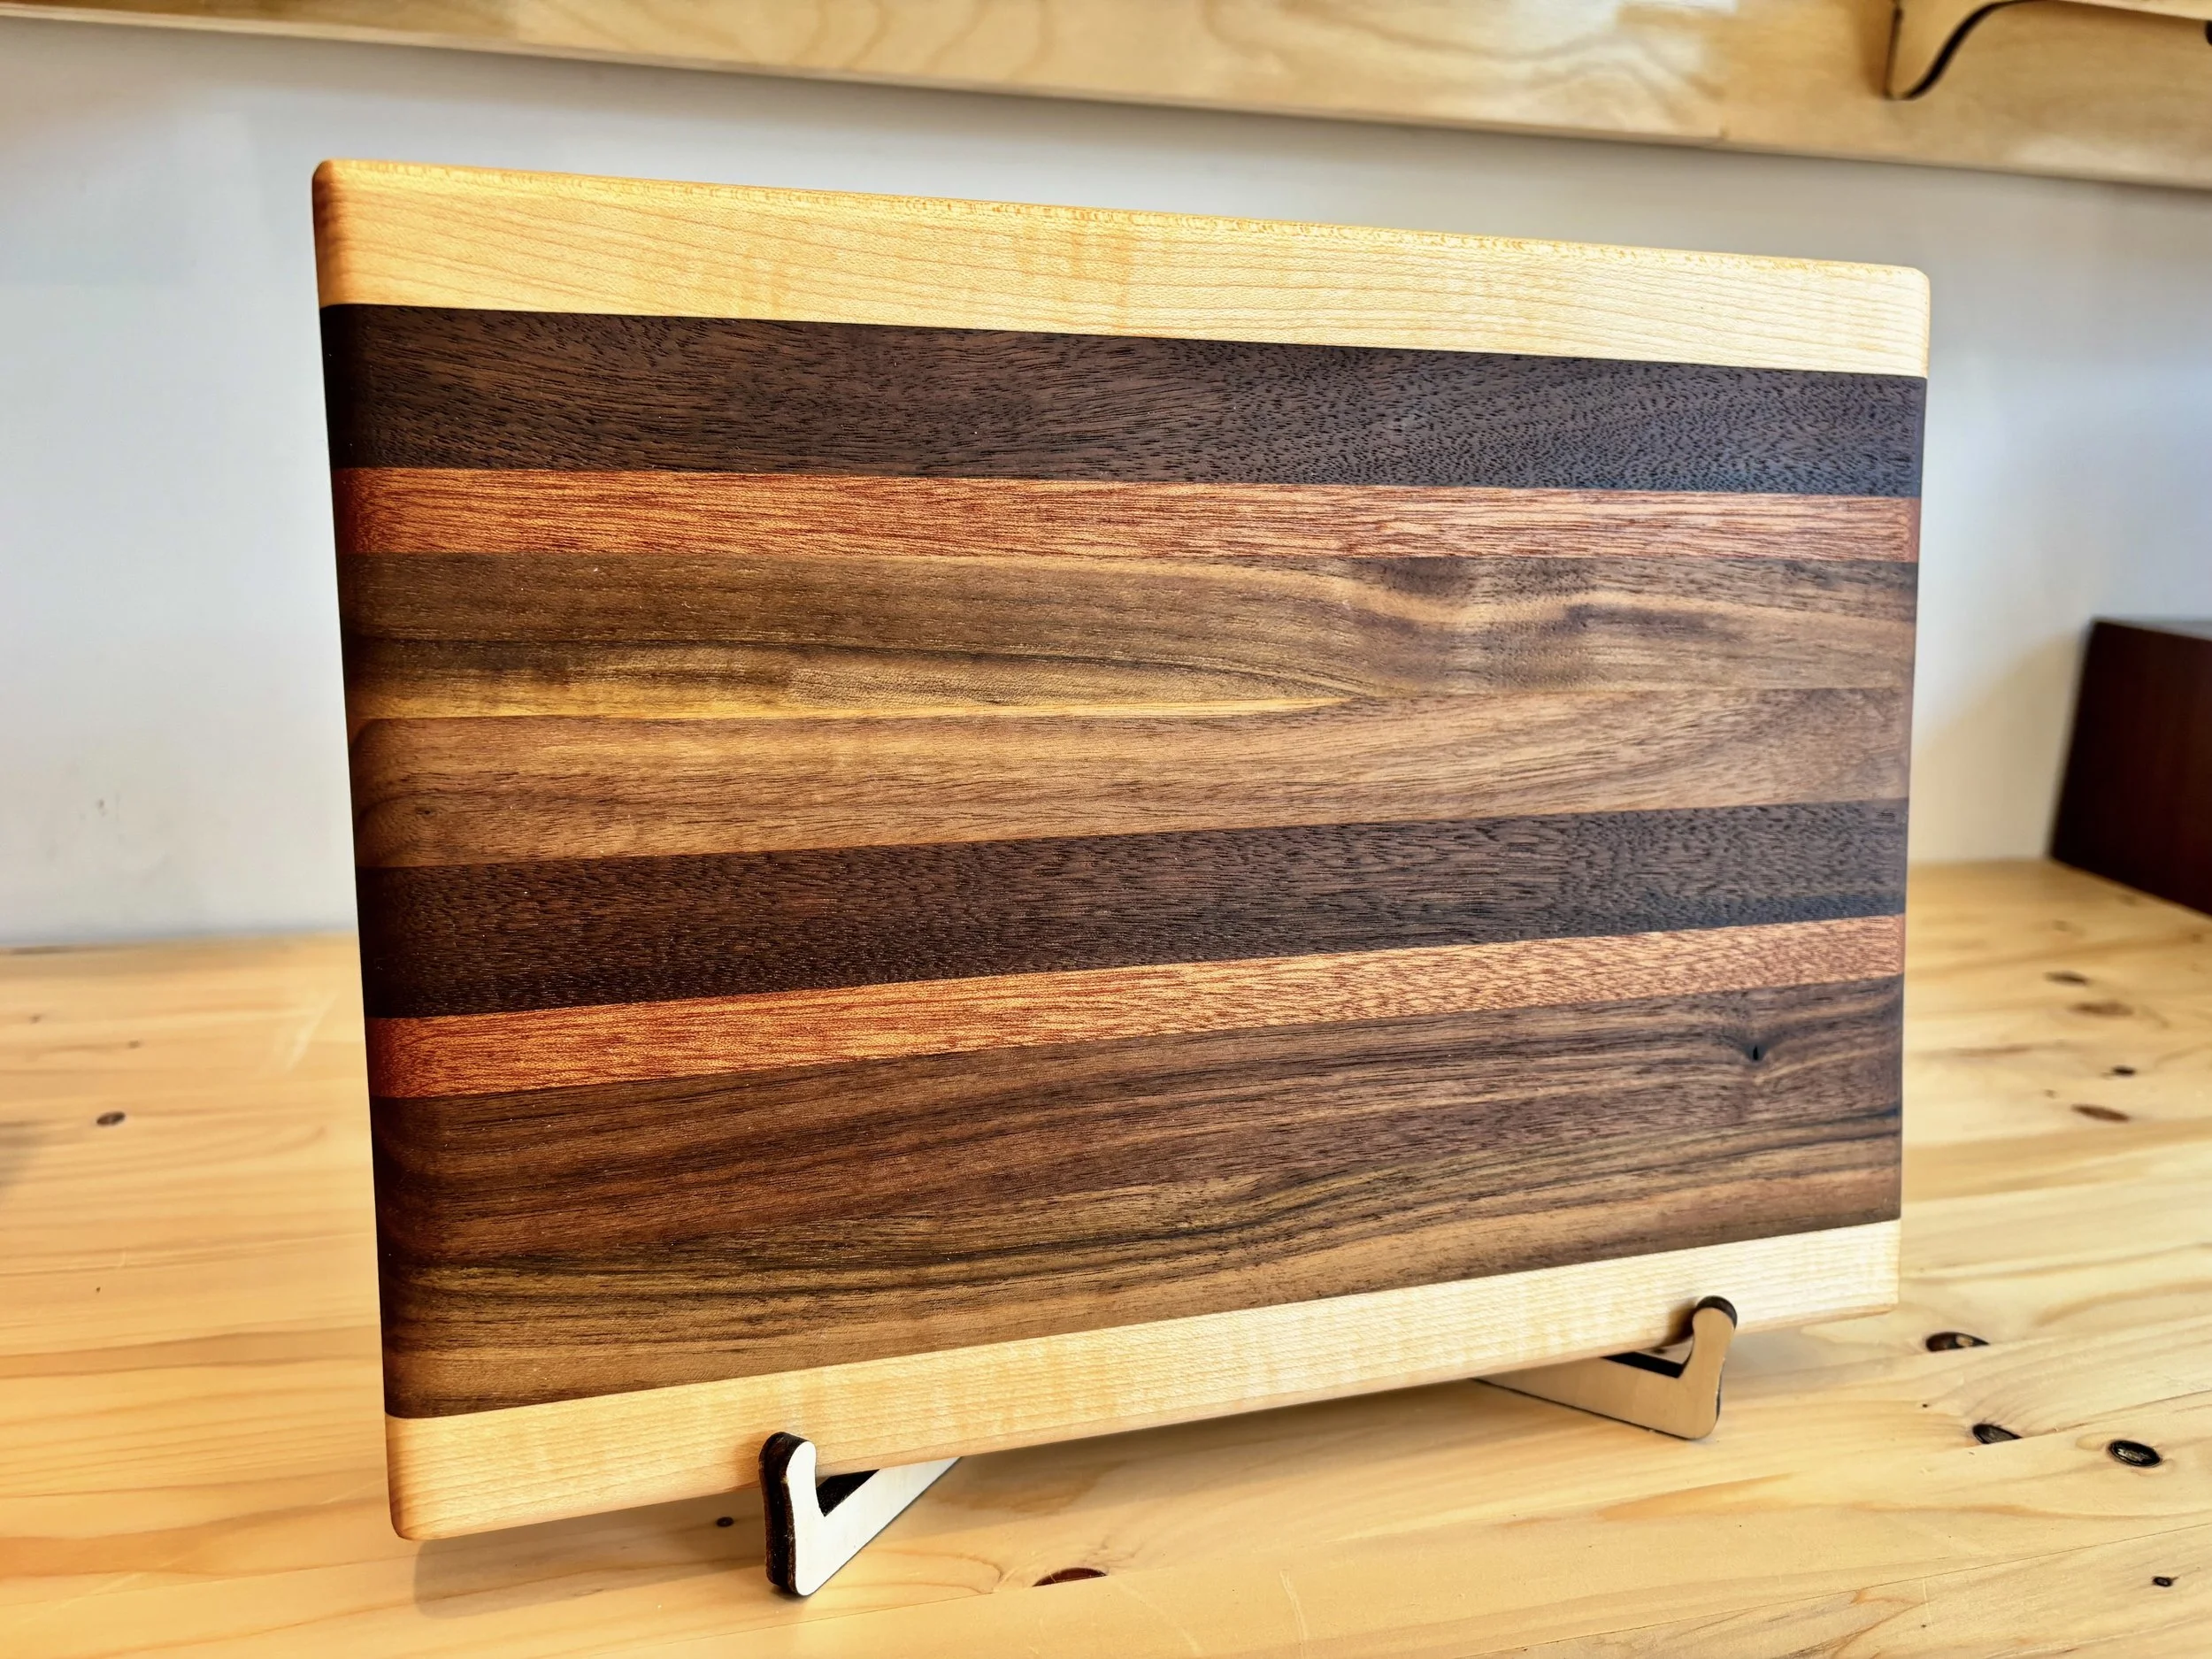 Image 2 of 6
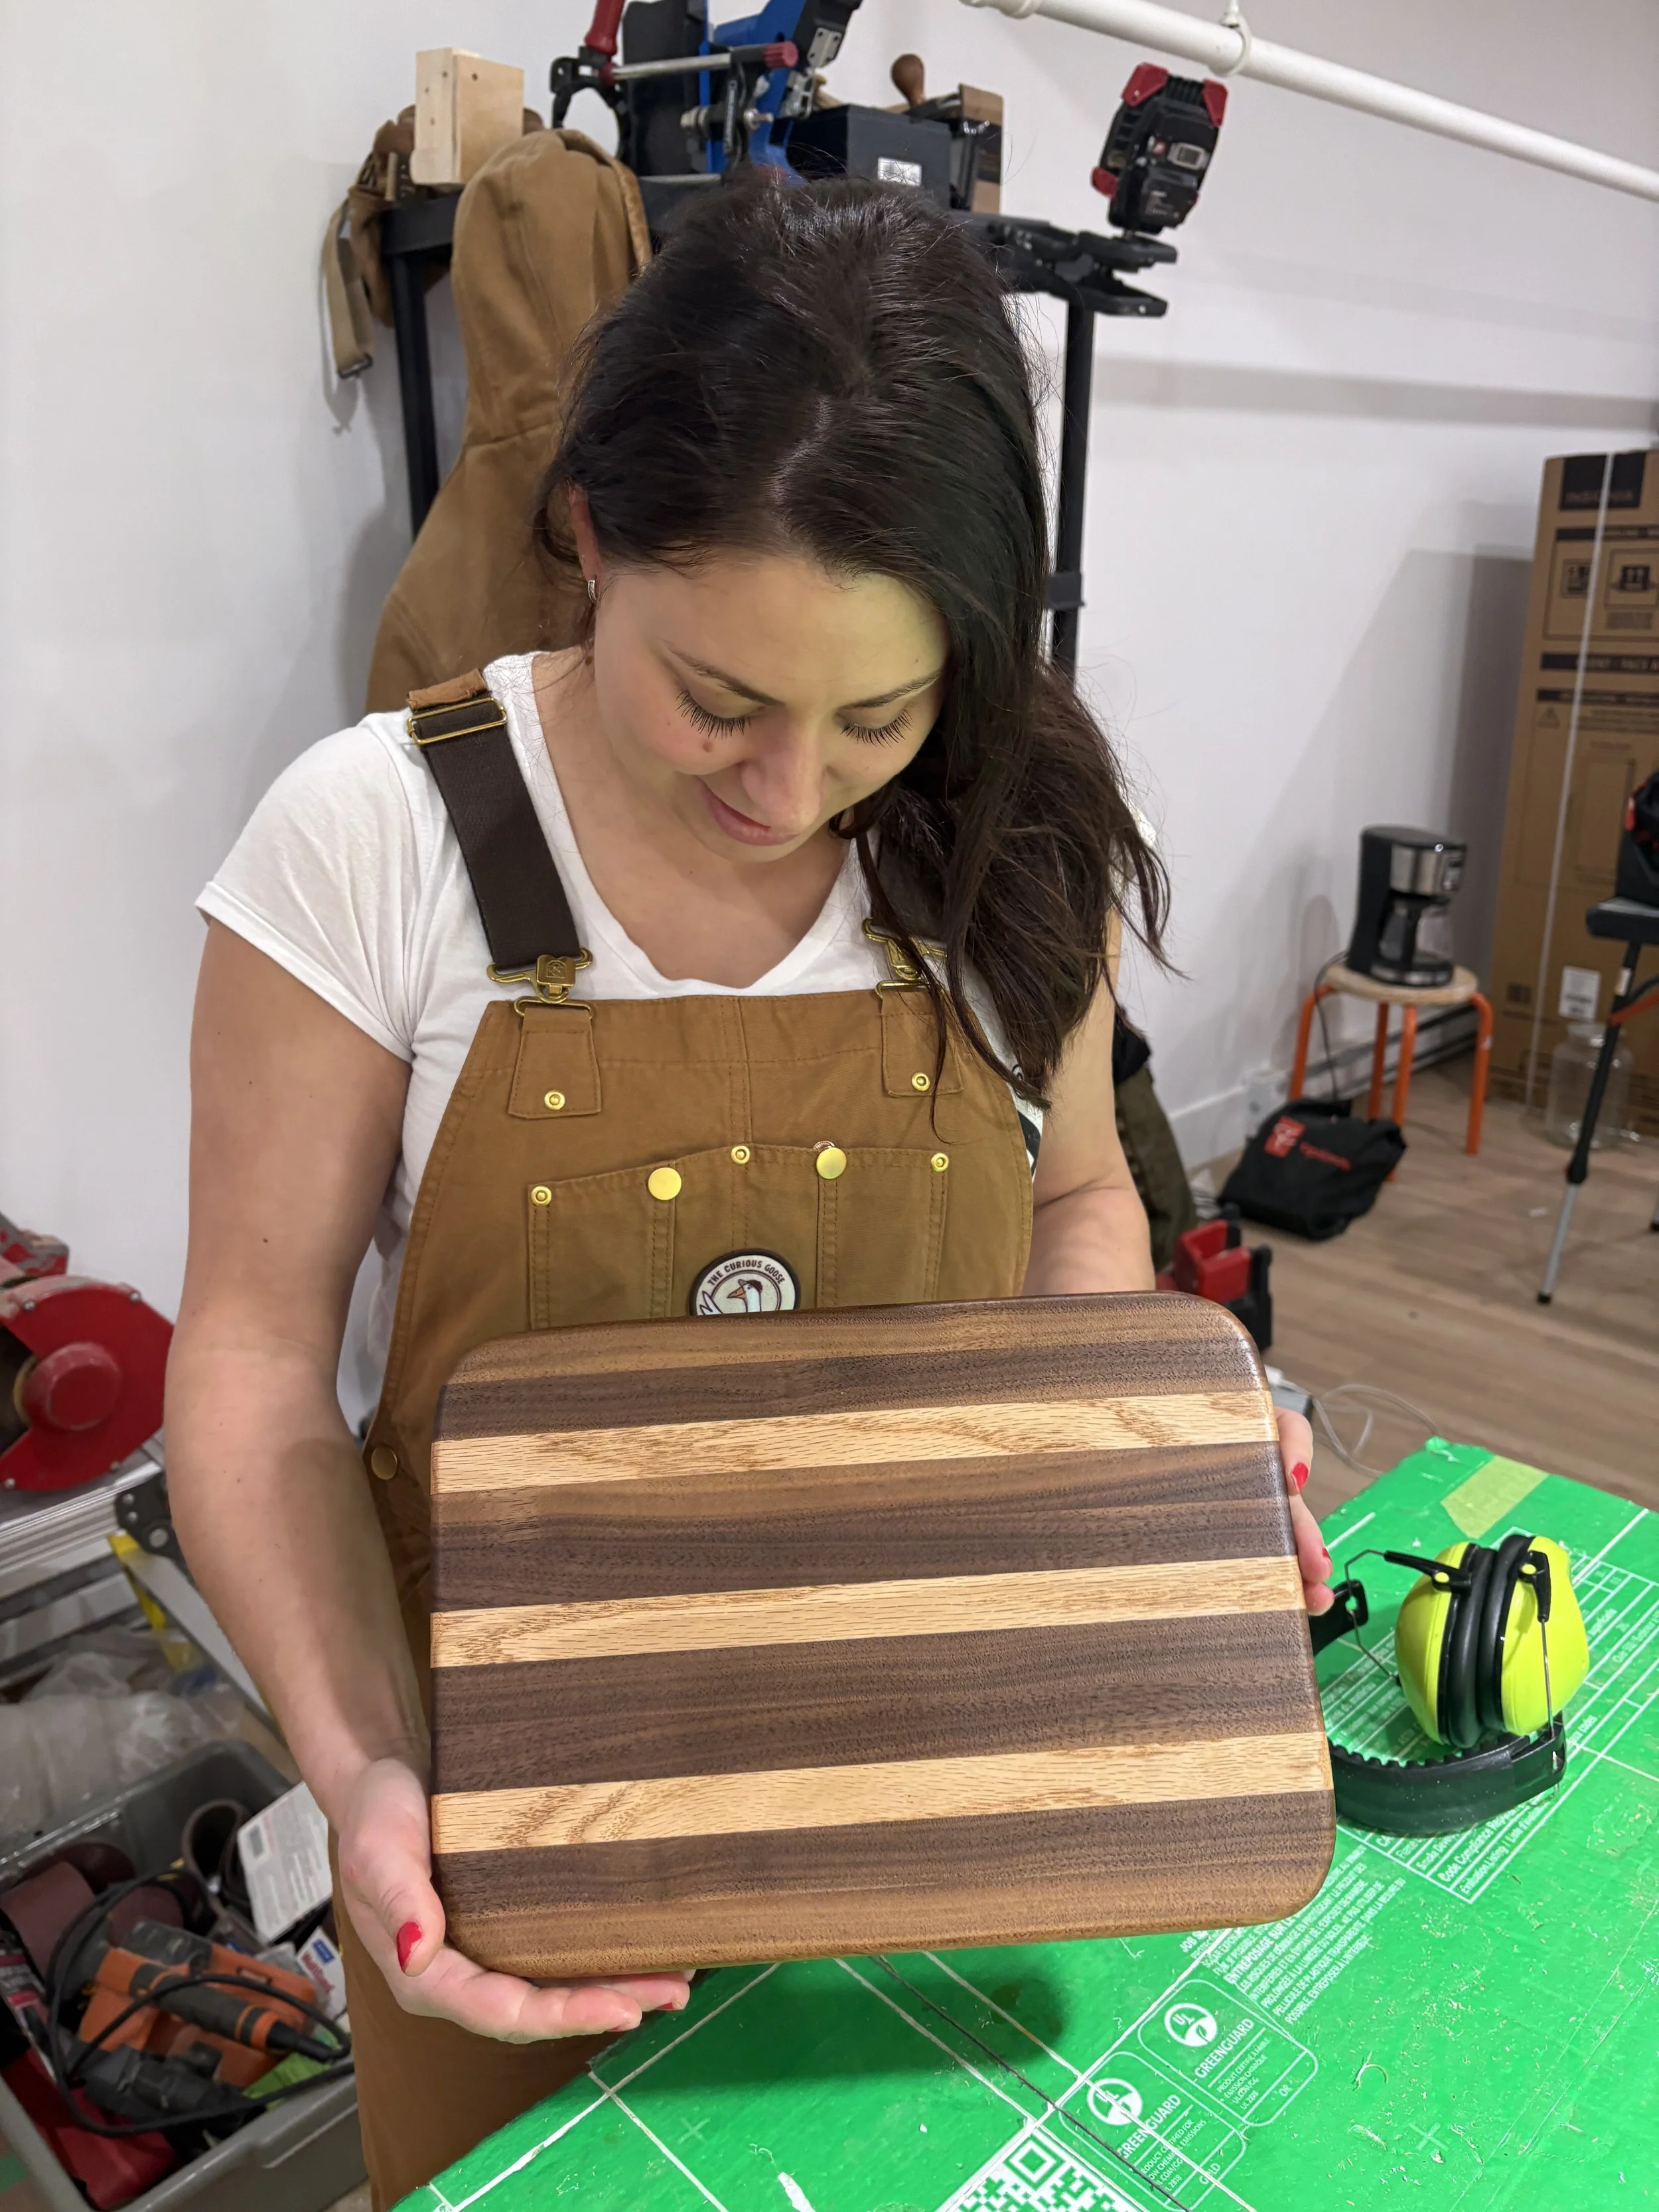 Image 3 of 6
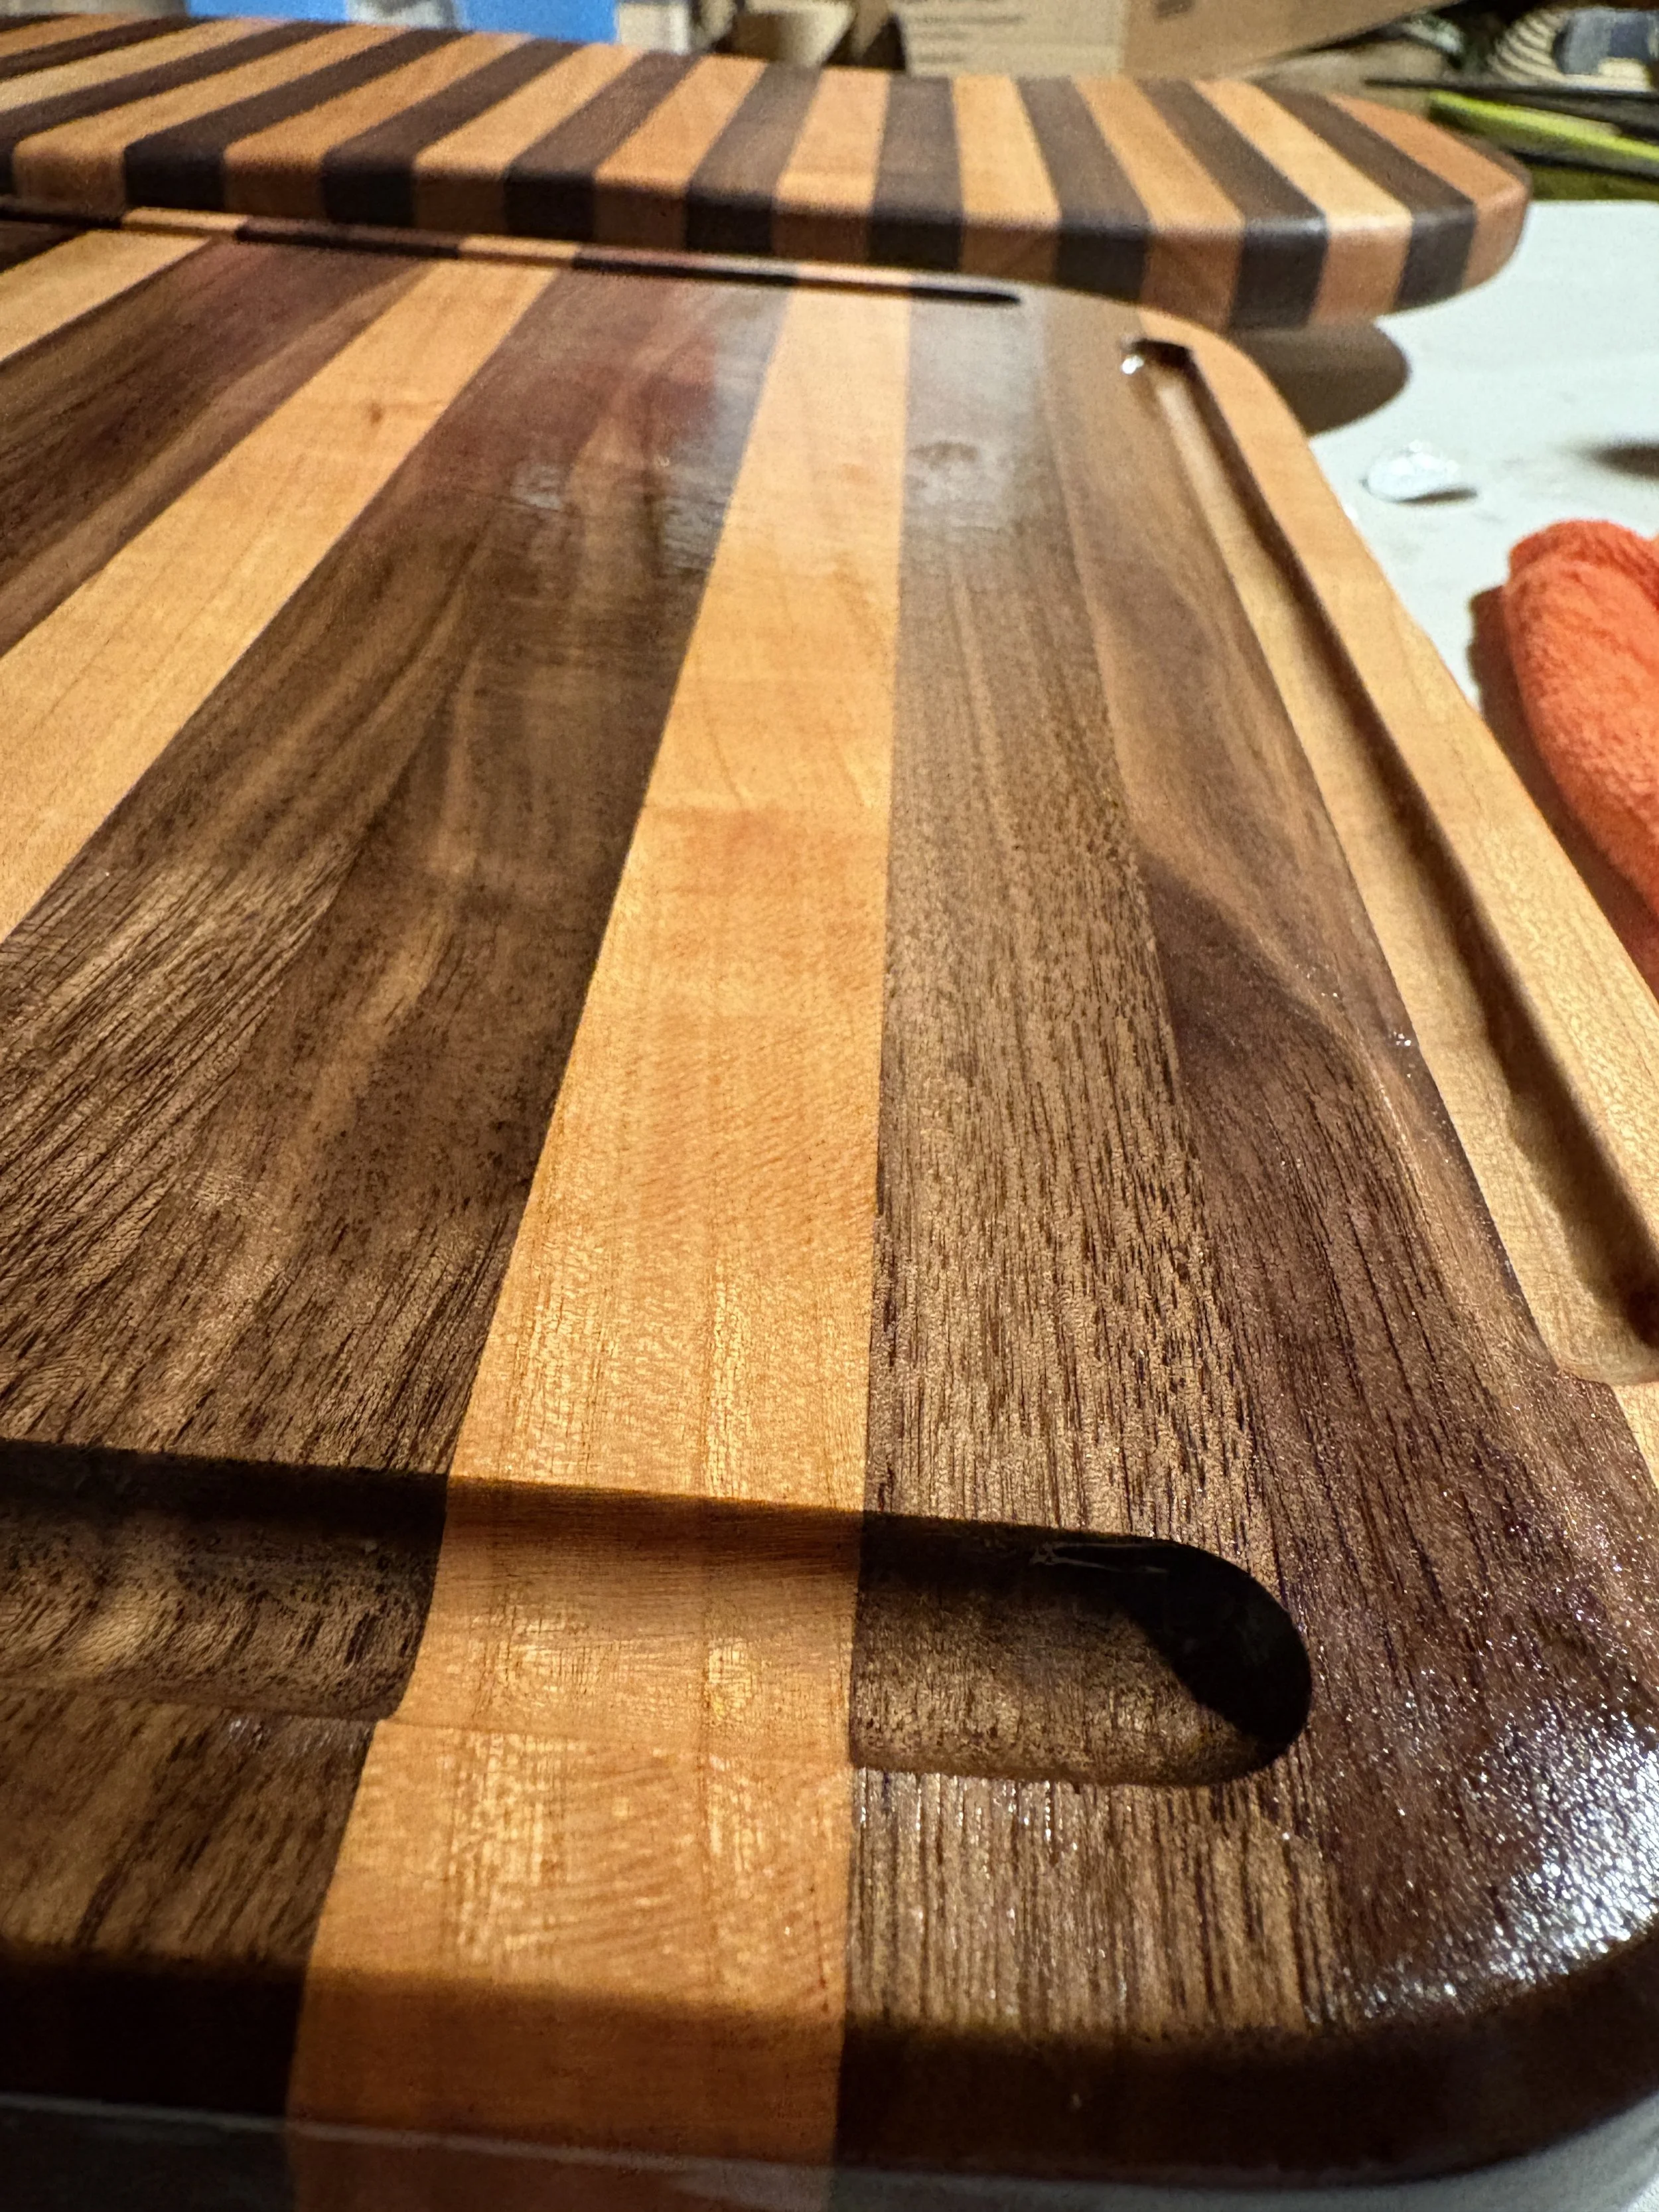 Image 4 of 6
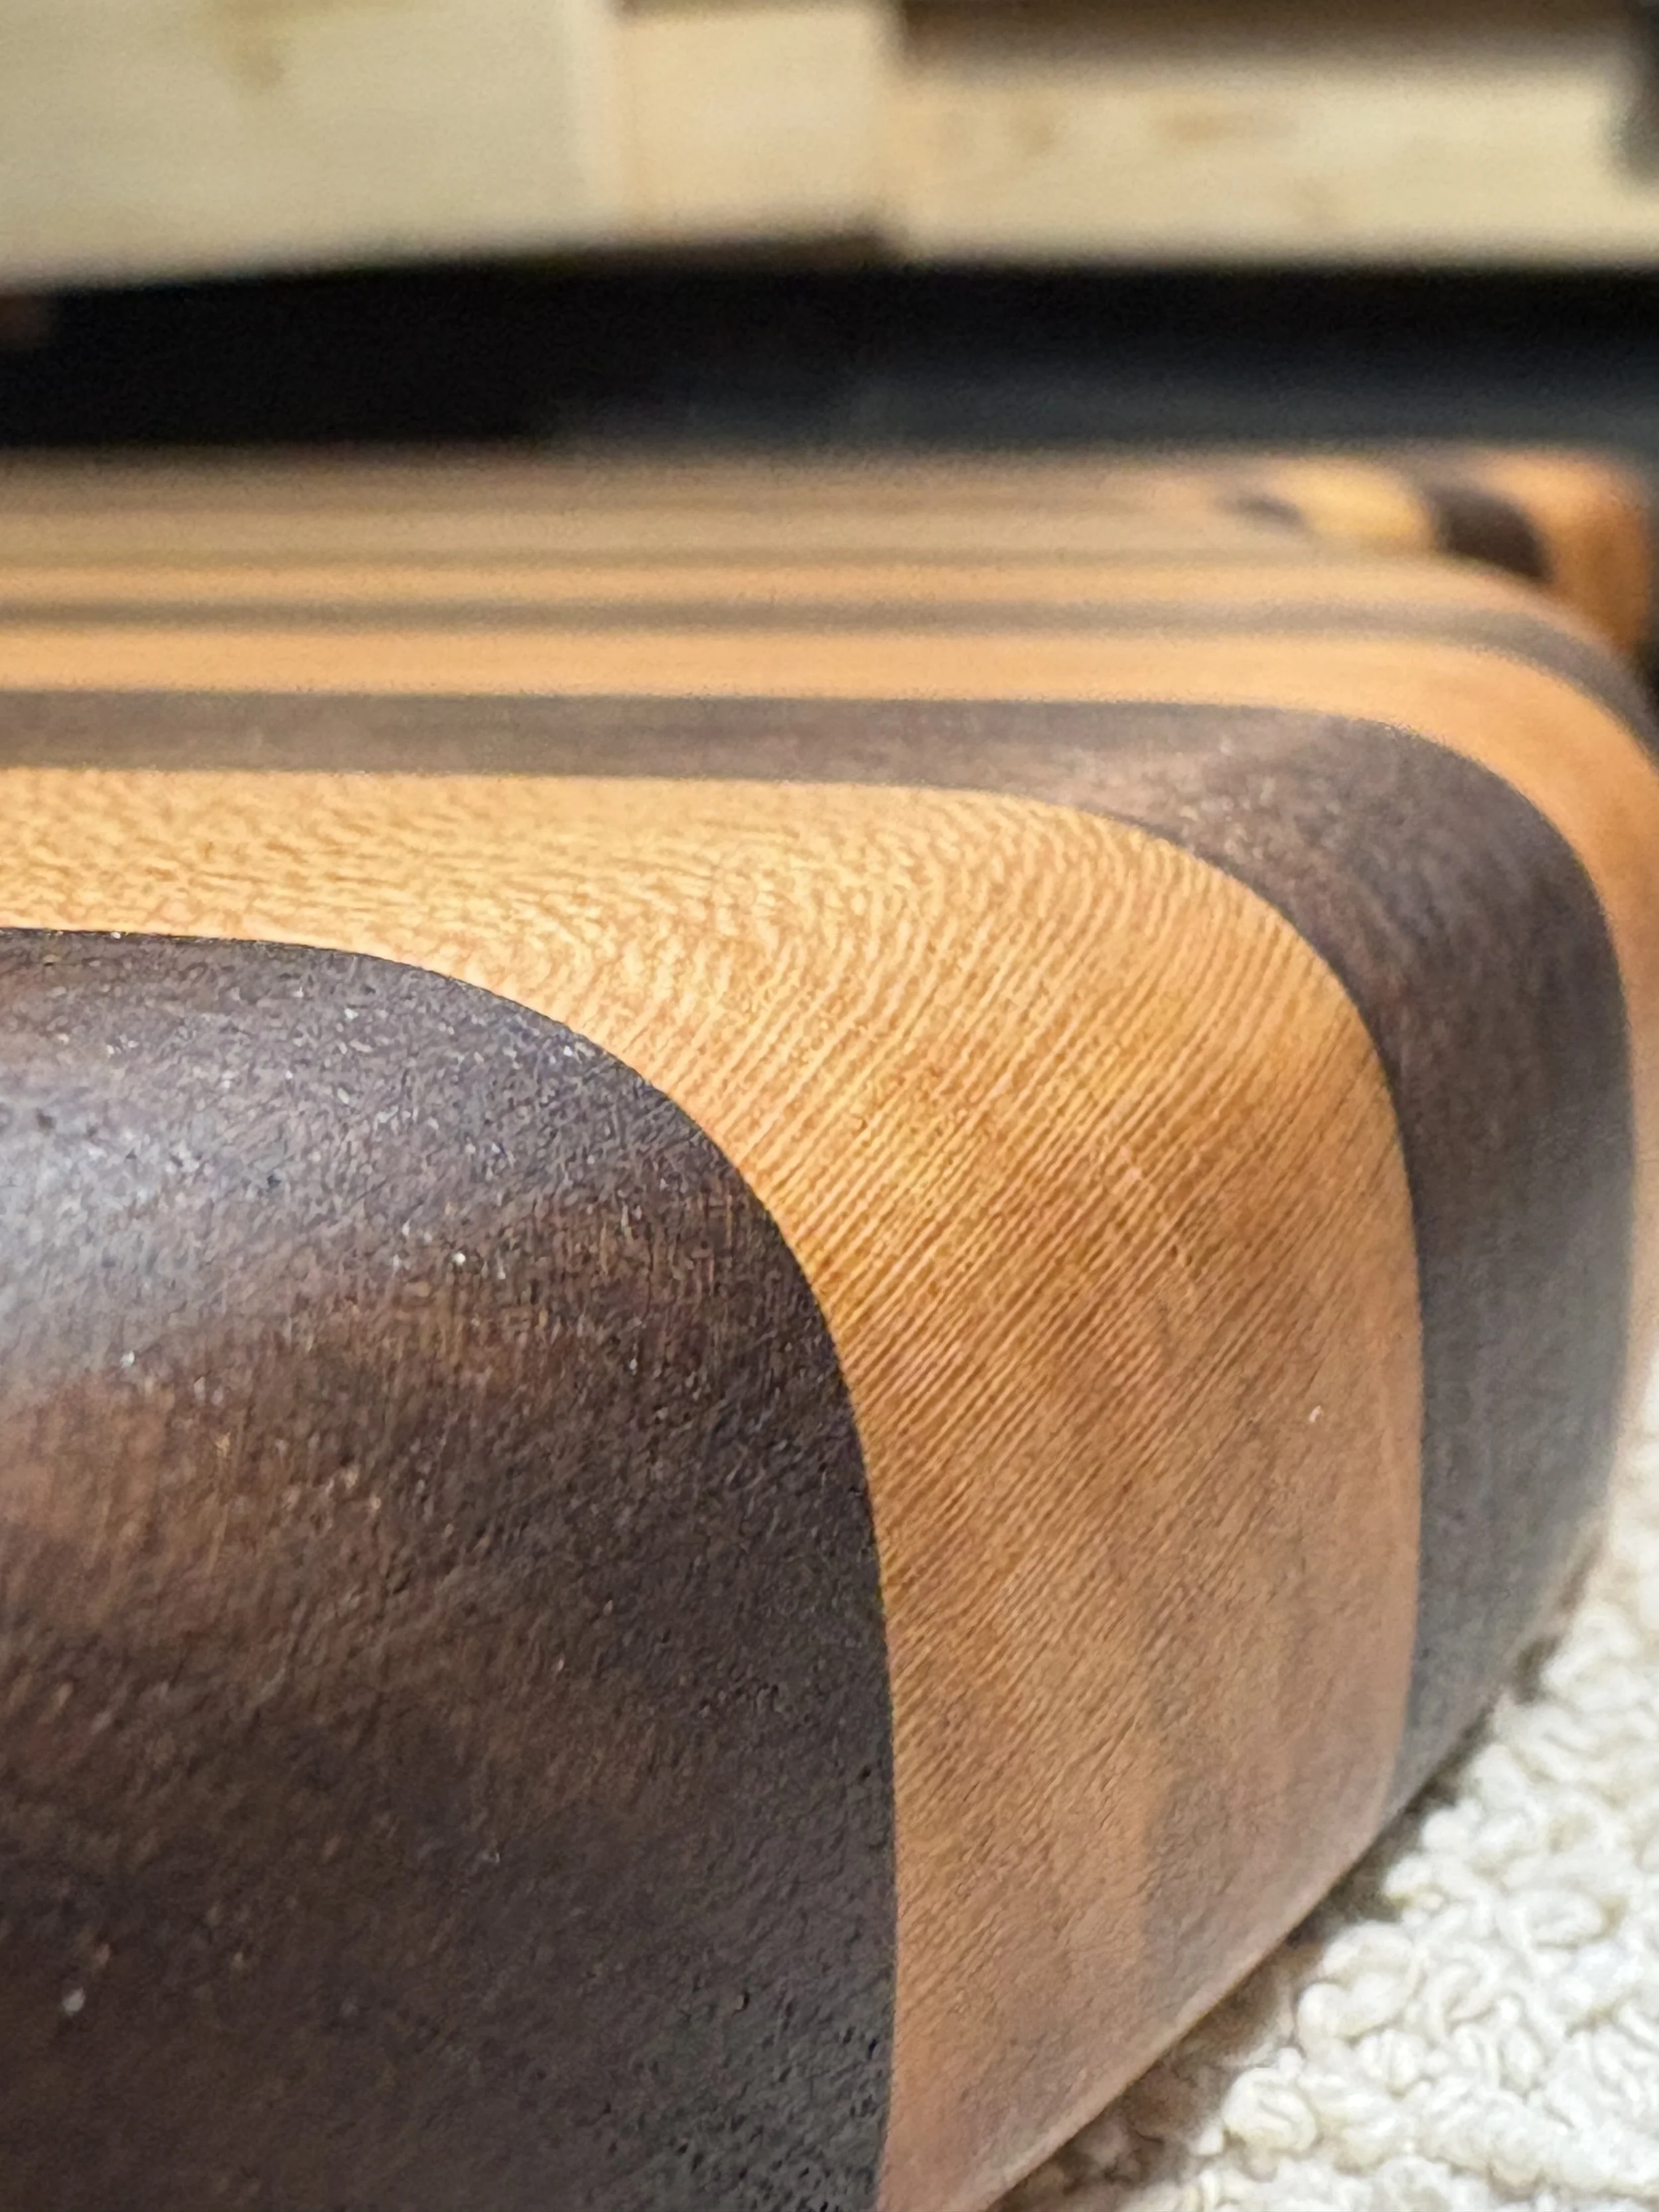 Image 5 of 6
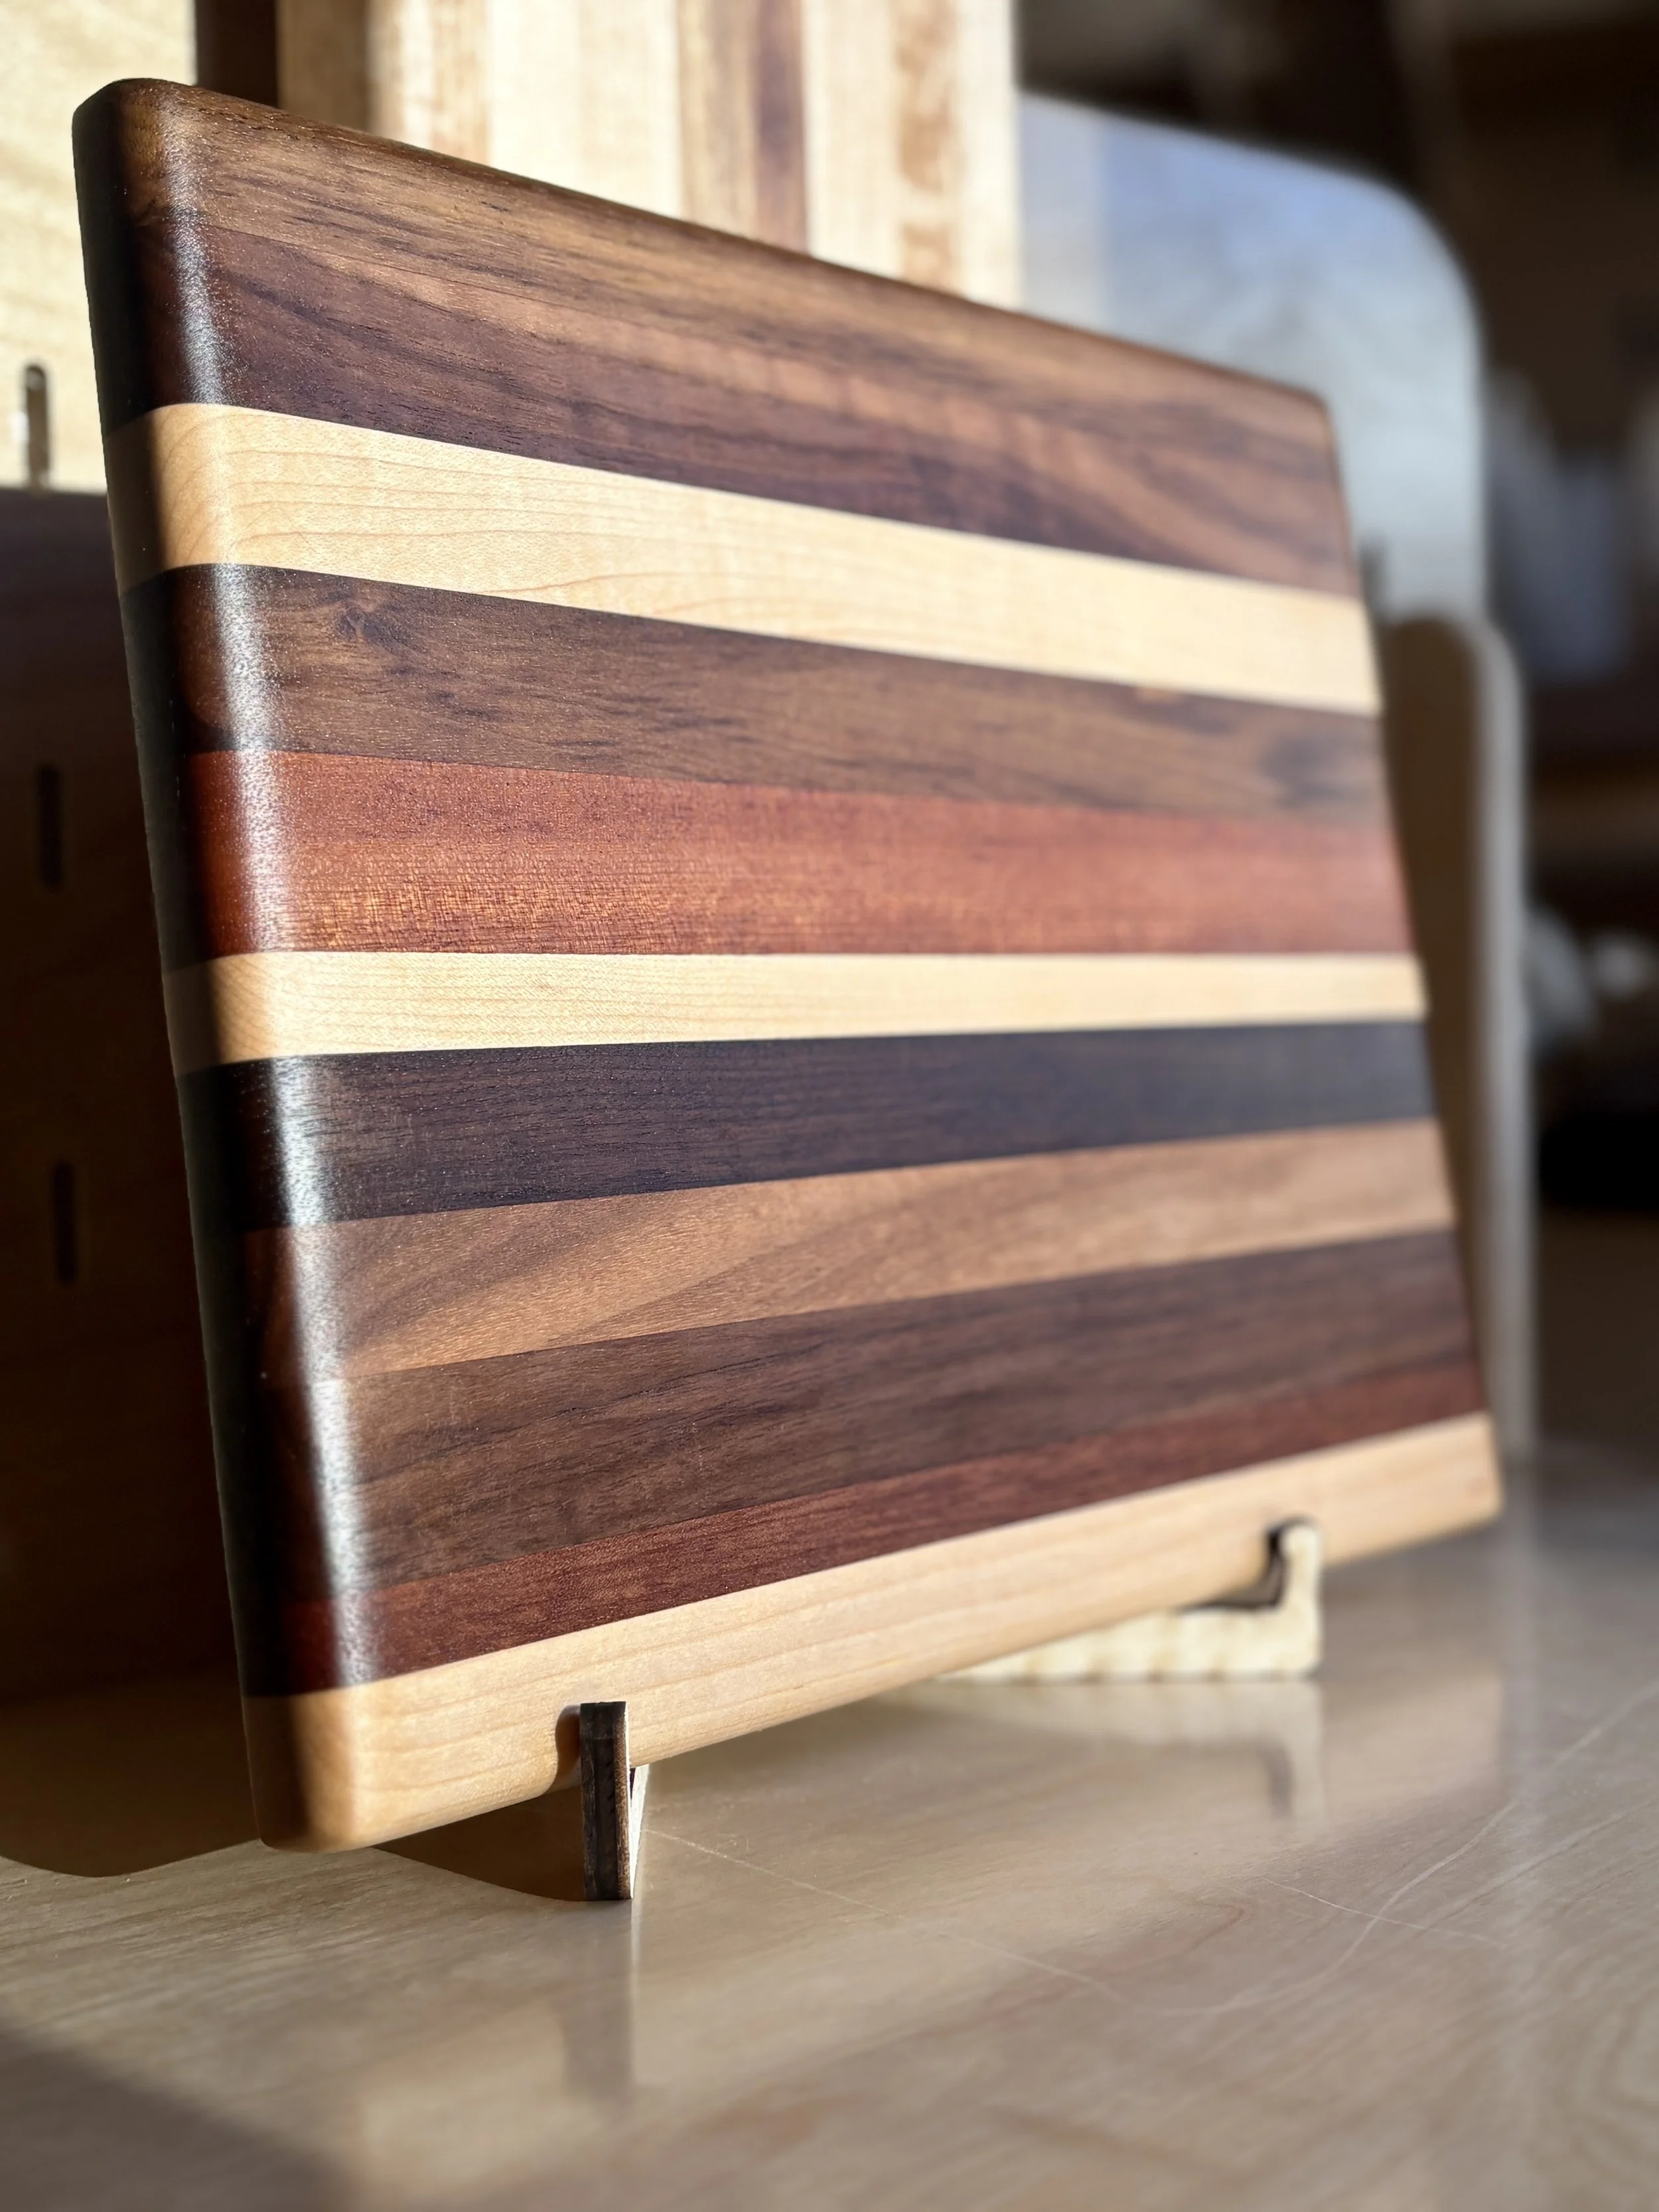 Image 6 of 6